Independent setup & troubleshootingHelping you find your connection.
The guide library

WPS button or reset button? Check before pressing

Explore the guide library · Wireless settings

Identify shared buttons and model-specific press instructions so pairing a device does not erase the router configuration.
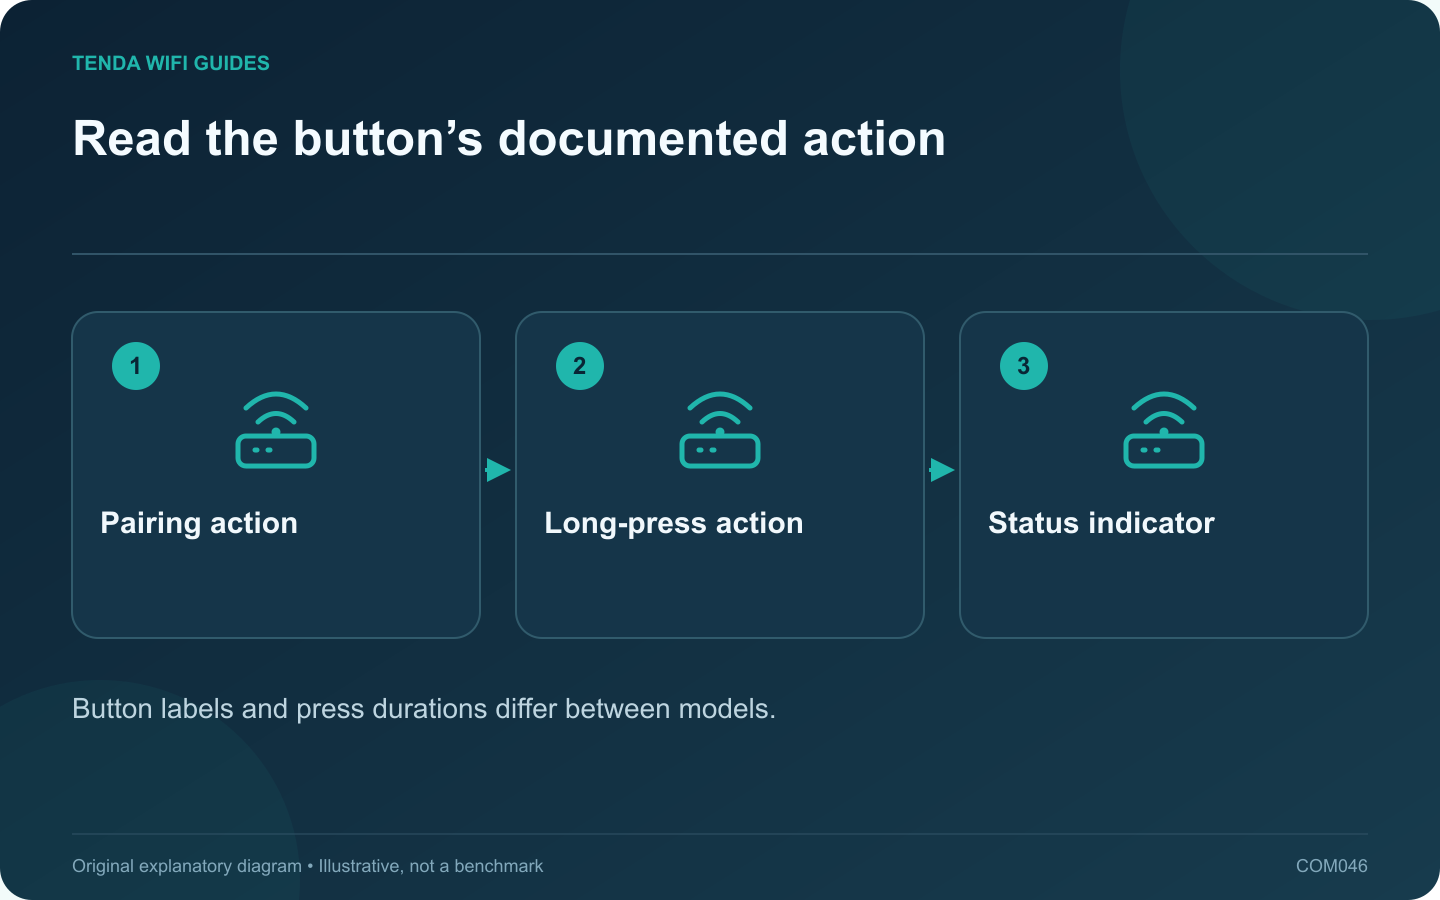
Read the button’s documented action: Pairing action; Long-press action; Status indicator
Button labels and press durations differ between models.

Before pressing a button to connect a new device, check whether it is dedicated to WPS or shared with reset or another function. A long press on the wrong control can turn a simple pairing task into a full network reconfiguration.

Identify the exact control

Read the printed label and the manual for the router’s model and revision. Look for separate instructions for a short press, a long press or a double press. Do not infer timing from another router in the same brand.

TP-Link’s WPS guide for supported customized routers illustrates different activation methods and notes that some models require a different physical-button action. Its timings apply to that documented equipment, not every router with a WPS label.

Prepare the client first

Check whether the new device supports the router’s WPS method and security configuration. Find its own pairing instructions before opening the router’s pairing window. Keep both devices within a suitable initial setup area and confirm you are pairing with your own intended network.

Use a controlled pairing attempt

  1. Follow the router’s documented activation action.
  2. Check the specified status indicator or interface message.
  3. Activate the client’s supported pairing action within the documented period.
  4. Wait for the result and confirm the client appears on the intended network.
  5. Test its ordinary function rather than relying only on a blinking light.

When pairing fails

Stop and read the current status before repeating the button press. Use the manufacturer’s manual setup method if supported. Repeatedly holding a combined button longer is not a sound way to improve pairing success.

If the router has reset unexpectedly, use your saved configuration and provider details to restore service through its documented process. Do not guess at ISP credentials.

After adding the device, review whether WPS needs to remain available in your setup. Keep the administrator credential private and retain a backup of the working router configuration before future changes.

Sources and editorial notes

Sources checked 8 October 2026. Independent guidance and original illustrations; product comparisons use published specifications rather than hands-on benchmarks. Check the exact model, revision and regional documentation before changing settings.

Related guides

300 FAQs across our guide libraries

Quick answers

100 practical questions from Tenda WiFi Guides.

Browse all 100 FAQs
How do I tell a WPS action from a factory-reset action?

Before pressing a button to connect a new device, check whether it is dedicated to WPS or shared with reset or another function. A long press on the wrong control can turn a simple pairing task into a full network reconfiguration. Read the printed label and the manual for the router's model and revision. Look for separate instructions for a short press, a long press or a double press. Do not infer timing from another router in the same brand.

Read the full guide and sources
Why can 5 GHz Wi-Fi appear late after a restart?

If 2.4 GHz appears immediately after a restart but 5 GHz takes longer, do not assume the 5 GHz radio has failed. On a DFS channel, the router may need to perform an availability check before using the channel. Verify the selected channel and the device's documented behavior. TP-Link explains that DFS equipment checks for radar and can move away from a channel when radar is detected. Channel availability and checking periods depend on the applicable region and channel. That can create a startup delay or a later channel change.

Read the full guide and sources
What should I test before separating Wi-Fi band names?

A combined wireless name can let compatible devices use the router's supported band-selection behavior. Splitting the names gives you a more explicit connection choice, but it also changes how devices reconnect and move around the home. Diagnose the task before making that change for everyone. Confirm which bands the device supports and which band it currently uses. Record its location and the failing task. A low-bandwidth smart device connected on 2.4 GHz may be working exactly as designed, while a nearby laptop with a demanding transfer presents a different question.

Read the full guide and sources
What could stop working when scheduled Wi-Fi turns off?

A Wi-Fi schedule affects more than the phones put away at bedtime. Cameras, speakers, updates, cloud backups and household routines may still depend on the network. Inventory those jobs before enabling a timer. Read whether the router turns off a whole radio, a particular network, a guest network or only its indicator lights. GL.iNet's scheduled-task documentation distinguishes LED, reboot and Wi-Fi schedules and requires a correct time configuration. Those actions are not interchangeable.

Read the full guide and sources
Independent. Practical. Clear.

Tenda WiFi Guides is an independent information website. We are not affiliated with or endorsed by Tenda. Product names belong to their respective owners.